


How can you achieve straight caulking lines with an extrusion sealant tool (caulking gun) for cartridge use?
Release Time : 2025-08-14
In home renovation, tile grouting, bathroom sealing, door and window installation, and other construction processes, caulking is a common yet demanding task. A straight, even, and aesthetically pleasing caulking line not only enhances the overall decorative effect but also demonstrates the professionalism of the workmanship. To achieve this, in addition to high-quality caulking agents or sealants, the correct use of the extrusion sealant tool (caulking gun) for cartridge use is crucial for ensuring straight caulking lines. Through scientific tool selection, standardized operating techniques, and meticulous application skills, achieving "straight lines in one shot" is entirely possible.
1. Choosing the Right Extrusion Sealing Tool (caulking gun) for Cartridge Use Lays the Foundation for Straight Flow
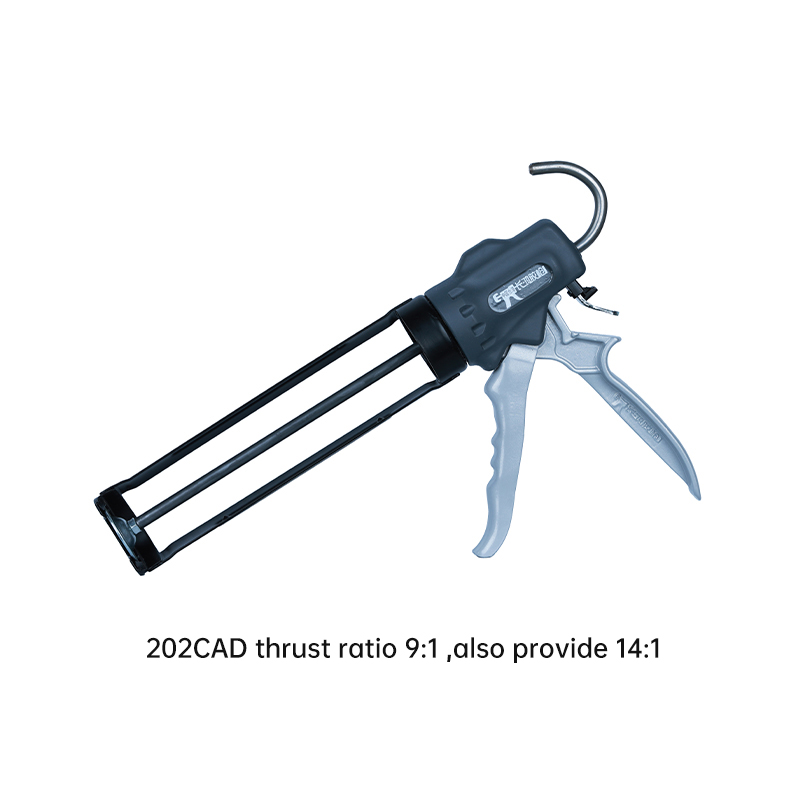
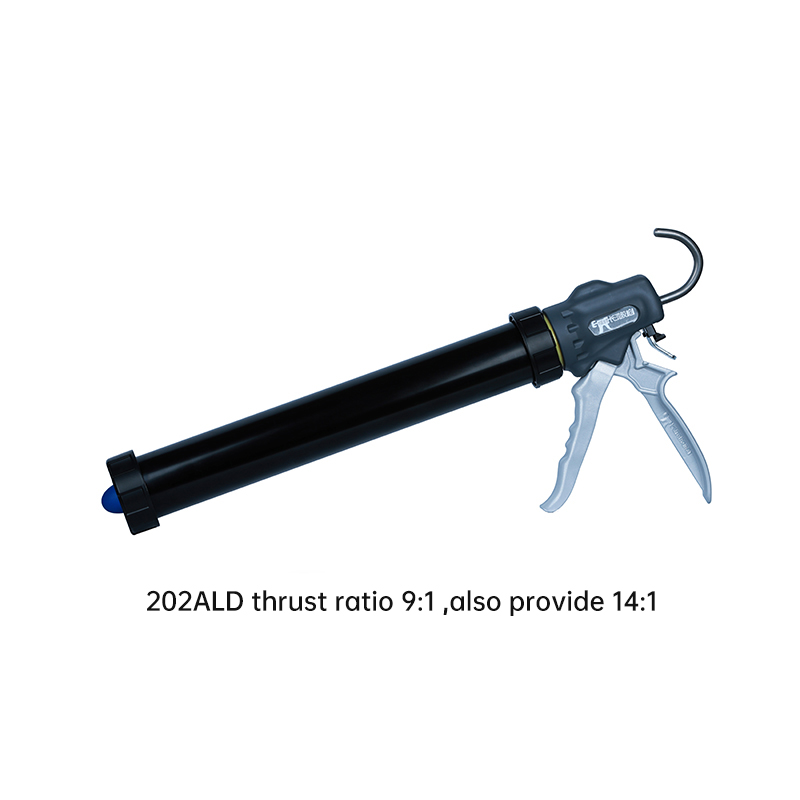
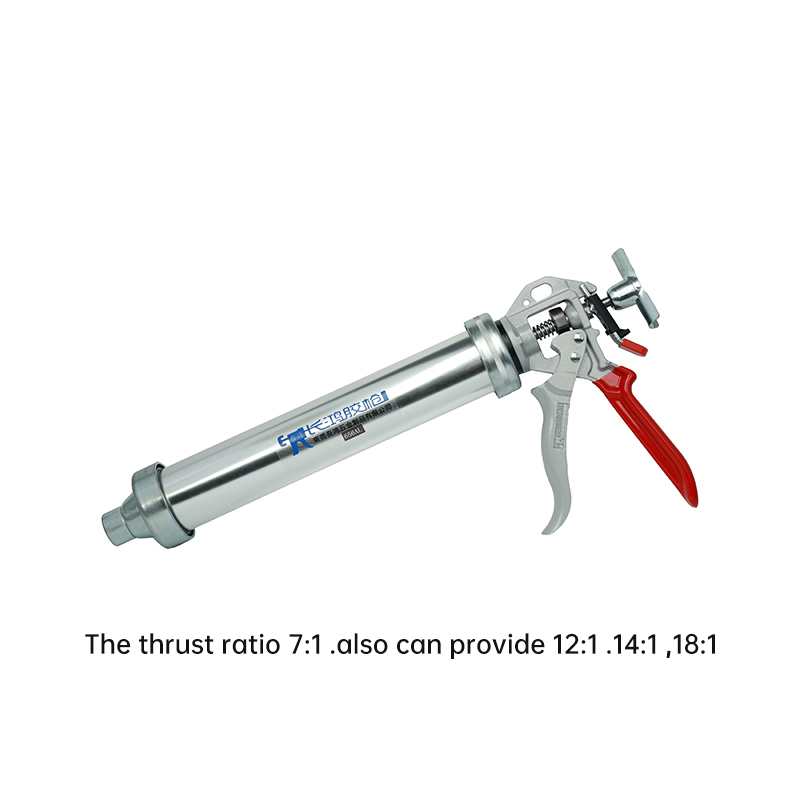
As the "executing tool" for caulking, the structural design of the extrusion sealant tool (caulking gun) for cartridge use directly impacts the stability and controllability of caulking flow. High-quality extrusion sealing tools (caulking guns) for cartridge use are typically constructed from aluminum alloy or high-strength engineering plastics, offering excellent rigidity and thrust-to-force ratio. A tool with a suitable thrust-to-force ratio (such as 18:1 or 20:1) allows for even extrusion of high-viscosity adhesives with minimal manual force, avoiding uneven adhesive delivery that can affect line straightness. Furthermore, tools with self-locking pressure rods and adjustable stoppers control the speed and stroke of the cartridge, further enhancing operational stability and consistency.
2. Properly Install the Nozzle to Ensure Accurate Dispensing Direction
The nozzle is the "dispensing port" of the extrusion sealing tool (caulking gun) for cartridge use. Its cutting angle and length directly determine the direction and coverage of the adhesive flow. To achieve straight-line filling, the nozzle should be cut at an angle (usually 45°), creating an oval-shaped outlet to facilitate smooth flow of adhesive into the gap. The nozzle should not be too long; generally, 1-2 cm of protrusion from the gun tip is sufficient. Excessive length can obstruct vision and affect alignment accuracy. After installation, ensure the nozzle is aligned with the axis of the extrusion sealing tool (caulking gun) to avoid misalignment that could cause the glue line to distort.
3. Maintain a stable gun angle and control the direction of glue application.
The key to straightness lies in maintaining a constant gun angle. During application, tilt the extrusion sealing tool (caulking gun) at approximately a 45° angle toward the gap, allowing the glue to flow from one edge and gradually fill the entire gap. The gun should always remain parallel to the gap, and the direction of application should align with the direction of the gap. Avoid side-to-side or fluctuating movement. A "slow and steady" approach of 5-10 cm per second is recommended to ensure continuous and even glue extrusion and avoid glue breakage or buildup.
4. Use auxiliary tools to improve alignment accuracy.
For long, straight gaps (such as tile joints and skirting board connections), use a ruler, backing plate, or caulking sheet as a guide. Press the ruler against one side of the gap and use an extrusion sealant tool (caulking gun) along its edge to prevent hand shake or deviation. Additionally, applying masking tape on both sides of the gap beforehand not only prevents adhesive from contaminating the tile surface but also creates a clear boundary, resulting in straighter, neater caulking lines.
5. Apply in sections to avoid fatigue and deformation.
Extremely long gaps should not be filled all at once. Applying glue in sections is recommended, with each section measuring 50-80 cm. After completing a section, pause briefly to check the line for straightness before moving on to the next section. This method not only keeps your hand steady but also allows you to quickly correct any deviations, ensuring overall straightness.
6. Make timely adjustments to correct minor deviations.
Even experienced operators may experience uneven straightness or uneven amounts of glue. Immediately after caulking, use a caulking stick or your fingertips dipped in water to gently smooth out excess adhesive and fill in any gaps, ensuring a smoother, more fluid line. If using masking tape, remove it before the adhesive sets to prevent tearing after drying, which could affect edge straightness.
7. Practice and Experience Improve Proficiency
Like any manual skill, mastering caulking straightness requires repeated practice. Before applying, it's recommended to test the caulking on scrap board or a hidden area to familiarize yourself with the gun feel, adhesive speed, and angle control, gradually developing muscle memory.
By selecting the appropriate extrusion sealing tool (caulking gun) for cartridges use, properly installing the nozzle, demonstrating maintaining a stable angle, using auxiliary tools, working in sections, and making timely adjustments, you can achieve highly straight caulking in actual construction. This not only enhances aesthetics but also professionalism and meticulousness. With a cartridge-specific extrusion sealing tool (caulking gun), combined with a scientific approach, you can ensure every adhesive line is as smooth and straight as a line.
1. Choosing the Right Extrusion Sealing Tool (caulking gun) for Cartridge Use Lays the Foundation for Straight Flow
As the "executing tool" for caulking, the structural design of the extrusion sealant tool (caulking gun) for cartridge use directly impacts the stability and controllability of caulking flow. High-quality extrusion sealing tools (caulking guns) for cartridge use are typically constructed from aluminum alloy or high-strength engineering plastics, offering excellent rigidity and thrust-to-force ratio. A tool with a suitable thrust-to-force ratio (such as 18:1 or 20:1) allows for even extrusion of high-viscosity adhesives with minimal manual force, avoiding uneven adhesive delivery that can affect line straightness. Furthermore, tools with self-locking pressure rods and adjustable stoppers control the speed and stroke of the cartridge, further enhancing operational stability and consistency.
2. Properly Install the Nozzle to Ensure Accurate Dispensing Direction
The nozzle is the "dispensing port" of the extrusion sealing tool (caulking gun) for cartridge use. Its cutting angle and length directly determine the direction and coverage of the adhesive flow. To achieve straight-line filling, the nozzle should be cut at an angle (usually 45°), creating an oval-shaped outlet to facilitate smooth flow of adhesive into the gap. The nozzle should not be too long; generally, 1-2 cm of protrusion from the gun tip is sufficient. Excessive length can obstruct vision and affect alignment accuracy. After installation, ensure the nozzle is aligned with the axis of the extrusion sealing tool (caulking gun) to avoid misalignment that could cause the glue line to distort.
3. Maintain a stable gun angle and control the direction of glue application.
The key to straightness lies in maintaining a constant gun angle. During application, tilt the extrusion sealing tool (caulking gun) at approximately a 45° angle toward the gap, allowing the glue to flow from one edge and gradually fill the entire gap. The gun should always remain parallel to the gap, and the direction of application should align with the direction of the gap. Avoid side-to-side or fluctuating movement. A "slow and steady" approach of 5-10 cm per second is recommended to ensure continuous and even glue extrusion and avoid glue breakage or buildup.
4. Use auxiliary tools to improve alignment accuracy.
For long, straight gaps (such as tile joints and skirting board connections), use a ruler, backing plate, or caulking sheet as a guide. Press the ruler against one side of the gap and use an extrusion sealant tool (caulking gun) along its edge to prevent hand shake or deviation. Additionally, applying masking tape on both sides of the gap beforehand not only prevents adhesive from contaminating the tile surface but also creates a clear boundary, resulting in straighter, neater caulking lines.
5. Apply in sections to avoid fatigue and deformation.
Extremely long gaps should not be filled all at once. Applying glue in sections is recommended, with each section measuring 50-80 cm. After completing a section, pause briefly to check the line for straightness before moving on to the next section. This method not only keeps your hand steady but also allows you to quickly correct any deviations, ensuring overall straightness.
6. Make timely adjustments to correct minor deviations.
Even experienced operators may experience uneven straightness or uneven amounts of glue. Immediately after caulking, use a caulking stick or your fingertips dipped in water to gently smooth out excess adhesive and fill in any gaps, ensuring a smoother, more fluid line. If using masking tape, remove it before the adhesive sets to prevent tearing after drying, which could affect edge straightness.
7. Practice and Experience Improve Proficiency
Like any manual skill, mastering caulking straightness requires repeated practice. Before applying, it's recommended to test the caulking on scrap board or a hidden area to familiarize yourself with the gun feel, adhesive speed, and angle control, gradually developing muscle memory.
By selecting the appropriate extrusion sealing tool (caulking gun) for cartridges use, properly installing the nozzle, demonstrating maintaining a stable angle, using auxiliary tools, working in sections, and making timely adjustments, you can achieve highly straight caulking in actual construction. This not only enhances aesthetics but also professionalism and meticulousness. With a cartridge-specific extrusion sealing tool (caulking gun), combined with a scientific approach, you can ensure every adhesive line is as smooth and straight as a line.